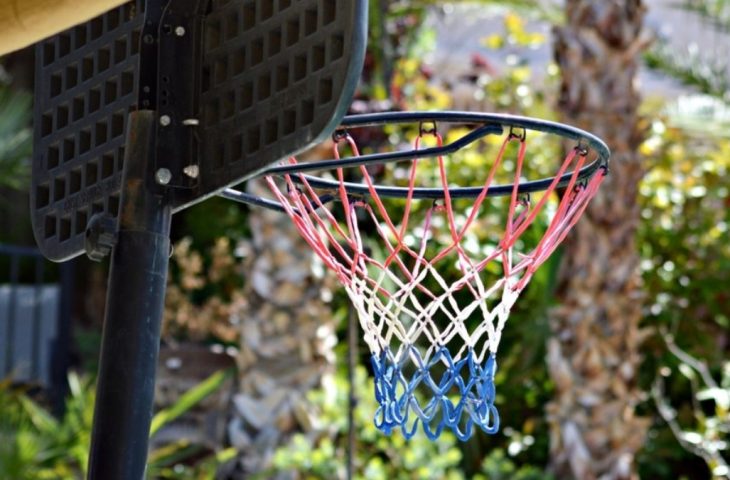
Backyard Basketball Transformation: Upgrading to a Professional-Grade In-Ground Hoop
by ago0

Elevating Your Home Court Experience
Basketball enthusiasts know that there’s nothing quite like having your own court to practice, play, and enjoy the game. If you’re looking to take your backyard basketball setup to the next level, upgrading to a professional-grade in-ground hoop can be a game-changer. Let’s explore how you can transform your outdoor space into a basketball haven.
Why Choose an In-Ground Basketball Hoop?
Before diving into the upgrade process, it’s worth understanding why an in-ground hoop is often considered the best choice for serious players:
- Stability: Firmly anchored in concrete, these hoops provide unmatched stability
- Durability: Built to withstand years of intense play and weather conditions
- Adjustability: Many models offer height adjustment for players of all ages
- Aesthetics: A sleek, professional look that enhances your outdoor space
Planning Your Upgrade
Assessing Your Space
Start by evaluating your backyard:
- Measure the available area for your court
- Check for any obstacles or landscaping issues
- Consider the impact on neighboring properties
- Ensure proper drainage to prevent water pooling
Choosing the Right Hoop
When selecting the best in-ground basketball hoop for your needs, consider:
a) Backboard size and material
b) Rim type (standard or breakaway)
c) Pole thickness and design
d) Height adjustment mechanism
e) Overhang distance
Budgeting for Your Project
Factor in these costs:
- The hoop system itself
- Installation materials (concrete, tools)
- Potential court surfacing
- Professional installation (if not DIY)
The Installation Process
Preparing the Site
- Mark the installation spot
- Call utility companies to check for underground lines
- Obtain any necessary permits
- Clear the area of grass, rocks, or debris
Digging and Pouring the Foundation
- Dig a hole according to manufacturer specifications
- Create a form for the concrete
- Mix and pour the concrete, ensuring it’s level
- Allow adequate time for the concrete to cure
Assembling and Mounting the Hoop
- Follow manufacturer instructions carefully
- Assemble the pole and backboard
- Secure the pole in the concrete foundation
- Attach the rim and net
Enhancing Your Court
Once your new hoop is installed, consider these additions to complete your transformation:
Surfacing Options
- Concrete: Durable and low-maintenance
- Asphalt: More forgiving on joints
- Modular tiles: Customizable and shock-absorbing
Court Markings
Add official lines for:
- Three-point arc
- Free-throw line
- Key (paint) area
- Half-court line
Lighting
Extend your playing time with:
- Adjustable floodlights
- LED court outline lighting
- Motion-sensor options for energy efficiency
Maintaining Your Professional-Grade Court
To keep your new setup in top condition:
- Regularly inspect for loose bolts or damage
- Clean the backboard and rim
- Touch up court markings as needed
- Adjust rim height seasonally to account for ground shifts
Safety Considerations
Ensure safe play by:
- Installing padding on the pole and backboard edges
- Creating a clear zone around the court
- Regularly checking for cracks or trip hazards
- Educating players on proper use and safety guidelines
The Impact on Your Game
Upgrading to a professional-grade in-ground hoop can significantly improve your basketball experience:
- More accurate shooting practice with a stable backboard
- Realistic rebounds for better offensive and defensive training
- Adjustable heights to challenge different skills
- Increased confidence from playing on a high-quality setup
Hosting Games and Tournaments
Your upgraded court opens up new possibilities:
- Neighborhood pickup games
- Family tournaments
- Skills competitions
- Coaching sessions for kids
Year-Round Enjoyment
With your new professional-grade hoop, you can enjoy basketball in all seasons:
- Spring: Perfect for outdoor play as the weather warms up
- Summer: Host barbecues and basketball games for friends and family
- Fall: Enjoy the crisp air while working on your jump shot
- Winter: Clear the court for winter practice sessions (weather permitting)
Environmental Considerations
When upgrading your court, consider the environmental impact:
- Use eco-friendly materials where possible
- Install energy-efficient lighting
- Consider permeable surfacing to reduce runoff
- Plant trees or shrubs around the court for natural shade and wind protection
The Long-Term Value
Investing in a professional-grade in-ground basketball hoop adds value to your property:
- Increases home appeal for potential buyers
- Provides a dedicated space for physical activity
- Creates lasting memories for family and friends
- Offers a private practice space for aspiring athletes
Embracing the Basketball Lifestyle
With your new court, you’re not just upgrading equipment – you’re embracing a lifestyle:
- Encouraging daily physical activity
- Fostering a love for the game in younger generations
- Creating a social hub for your community
- Providing a stress-relief outlet right in your backyard
By transforming your backyard with a professional-grade in-ground basketball hoop, you’re creating more than just a place to play. You’re building a space for growth, enjoyment, and connection. Whether you’re shooting hoops alone on a quiet evening or hosting a lively weekend tournament, your upgraded court will be the centerpiece of countless memorable moments.
Remember, the best in-ground basketball hoop is the one that fits your space, meets your needs and inspires you to step outside and play. So take that leap, make the upgrade, and get ready to elevate your game right in your own backyard. The court is waiting – it’s time to make your move!


