Post processing of 3D models after printing: 6 simple steps
by 22/01/2020 09:120
Roughness of the external surface is typical for all the parts produced via 3D printing. But you can make it completely smooth.The technology of acetone smoothing of 3D printed models has been developed for this purpose. Such variant of post processing removes imperfections on their surface and makes it perfect.
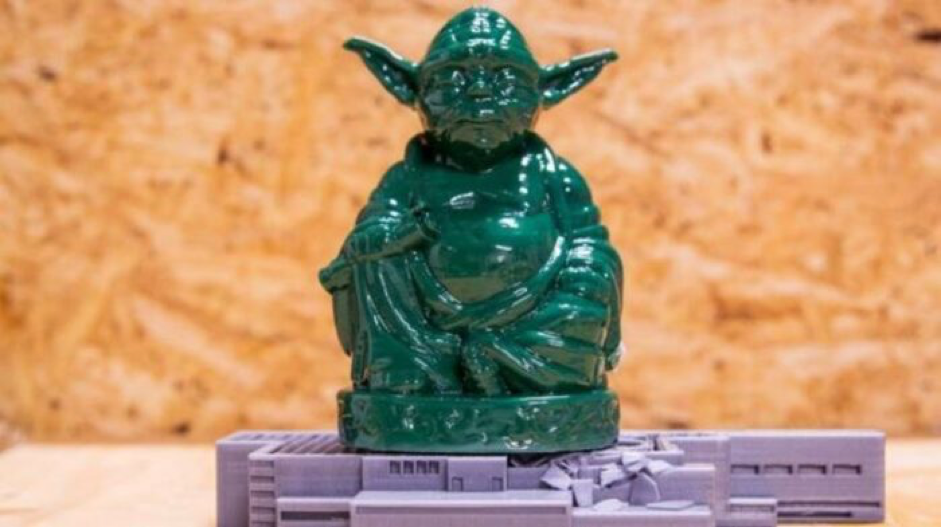
Post processing of a 3D model after printing
One of the many disadvantages, typical for FDM printers is the the lack of a smooth finish that you would expect to be on cast parts. Instead of that, there is usually rough, matt surface with visible layer edges. Sandblasting, which is used until the external layer is smooth, has become a popular method of getting rid of it. Manual sanding is also used.
Acetone is another way, which is not only faster but also more effective and capable of keeping features of small elements. The process can be applied to any materials interacting with the solvent, but it is best to use the popular ABS plastic for such things. By the way, with PLA-plastic it is completely useless. In this article, we will look at how to smoothen the printed parts with acetone.
Necessary equipment
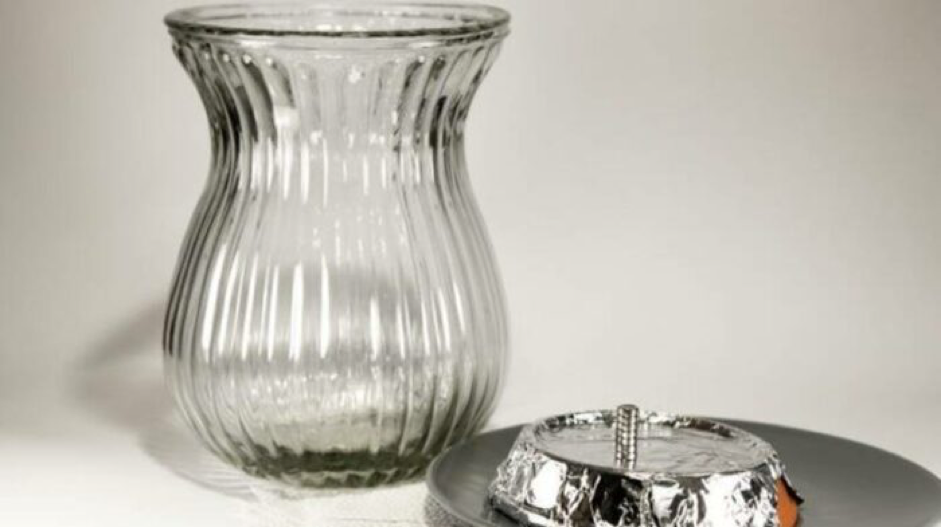
There are countless ways for acetone smoothing of 3D printed parts. Some of them are quite dangerous, some harmless. So, as an example, we took a simple object out of home environment. For its subsequent transformation we will need:
- towels (cloth napkins);
- transparent glass vase (glass jar is also suitable);
- magnets (at least 6 pcs.);
- a slab;
- a small clay saucer ( any object, able to serve as a platform, is suitable).
Aluminum foil could also be useful.
Precautions
Acetone is an excellent tool for 3D model processing with acetone vapor or for gluing its individual parts. However, you should know that it can also be very dangerous if used incorrectly. The solvent is flammable, so do not use it near open fire or anything that can cause a spark. In addition, air mixtures with an acetone concentration of more than 13 % are explosive.
Stages of chemical smoothing
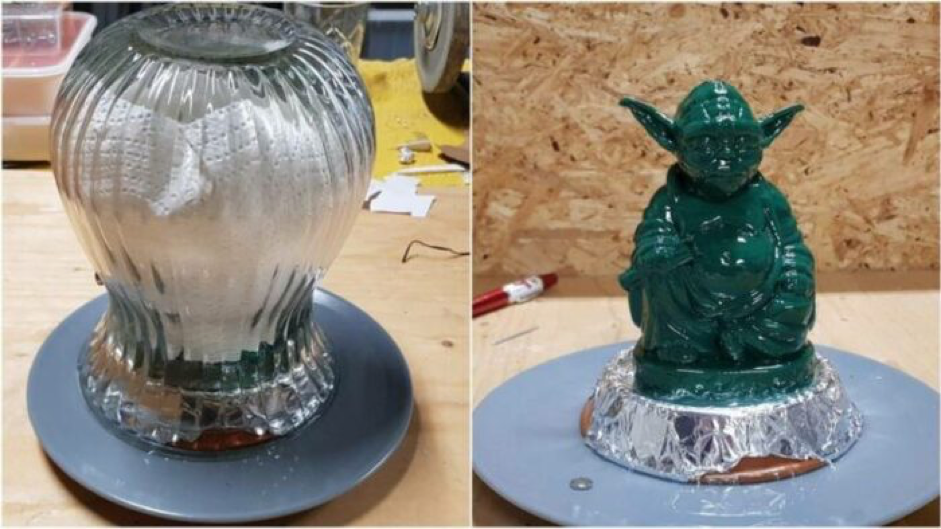
Now that all the materials are prepared, you can finally start smoothing the printed parts with acetone. You will need to do the following:
- Fill a plate with water and place a clay saucer upside down on the plate. Wrap it with aluminum foil so that the model does not stick and at the same time is held on this shiny surface, located on the glass “bed”.
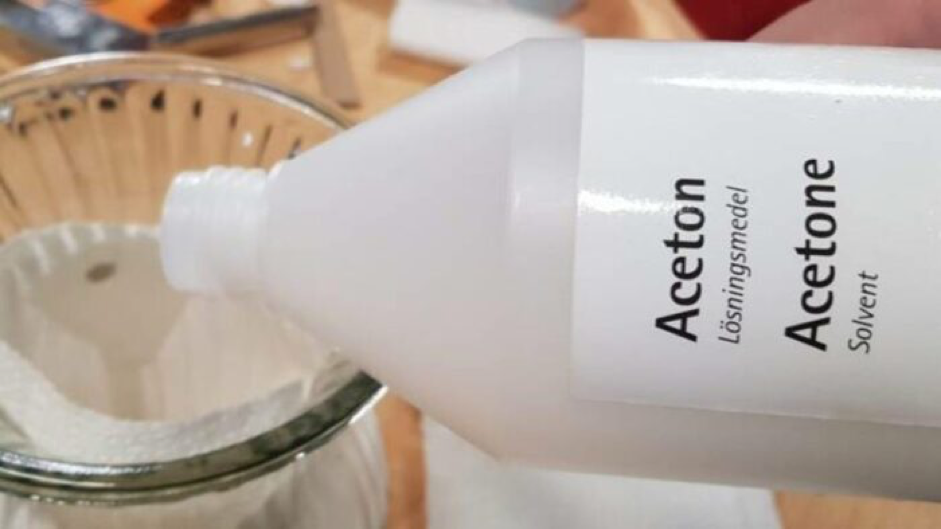
- Attach the fabric to the inside of your vase with the help of magnets. Pour a small amount of acetone into it and roll the vase until everything is soaked evenly.
- Place the 3D printed model on the platform (clay saucer) and slowly lower the vase upside-down on it. It is important that the water on the plate creates a seal that does not let acetone to leak. At first you will see small bubbles coming out of the water, this is normal and there is nothing to be afraid of.
- Now you just have to wait until the roughness of the top layer disappears. It can take from half an hour to a couple of hours. (Buddha Yoda took a little less than two hours.) When processing a part, consider the thickness of its walls so that it can withstand the loss of the outer layer. If you have chosen a transparent vase, it is much easier to see the progress of your smoothing process (where there is no fabric) without guessing and removing it. Make sure that the subtle features are not dissolved in the composition.
- When you are satisfied with your work, you can carefully remove the vase and remove the model from the platform. Put it on something that doesn’t react to acetone. We recommend using a failed PLA print, preferably one that was canceled midway through the process and left behind a flat surface with filling acting as a non-stick platform.
- The last step is to let your model dry off any acetone residue. Sometimes it takes only one day, but it can take many. When the part dries up, you will have a 3D printed model that looks as if it was cast under pressure!
If you’re a 3D printing enthusiast who’s looking for the better FDM experience or maybe you are an entrepreneur who wants to cut costs in his or her business model. For such purpose check out one of the best industrial 3D printer with full enclosure and automatic leveling. Creatbot F430 will suit all your needs!
If you’re interested in 3D printing, but don’t know where to start, check out this buyer’s guide. It’ll help figure out what machine you need.
