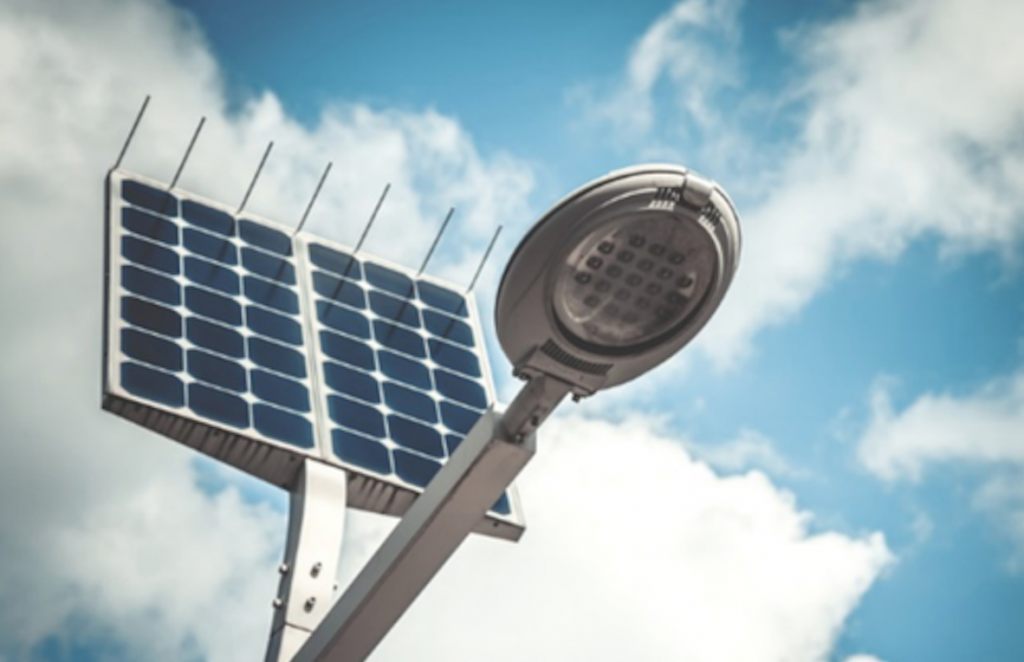
Solar garden lights ensure that your garden stays illuminated at night, completely free of charge. In terms of outdoor lighting, they are one of the best environmental solutions. Keeping them clean and properly stored can avoid extra costs.
Get ready with the solar garden lights instructions
Use your solar lamp instructions to help you disassemble the lamp. This way you will be able to access the solar panels inside. Remember to be very careful when removing the lamps as they can be fragile.
Clean the Solar Batteries
After removing the lamp, you should be able to find the solar cell. It is important to remove it from the luminaire to be able to clean it properly.As you know solar lights used in garden could be on wall or just plug in the earth,solar garden wall lights produced by some manufacturers would be easier to clean such as Lohasled solar garden lights,which is used on garden walls or pathway which can use strong glue to stick on the wall.
Continue to our clean step,you need to check for any oxidation (a compound with a white off-white color) where the plastic comes in contact with the battery pack. If the batteries are oxidized, clean them with a small soft brush. This should be easy because oxidation will dry out and be cleared. Make sure that the area in contact with the luminaire is also cleaned. If your solar cell has been in use for more than a year and does not work properly for a while, you should consider replacing it, especially if the battery still fails after removing the oxidation.
Reinstall
After cleaning the panel, you can turn your attention to the shell of the solar garden light that you removed in the first step. You can wipe them with a damp cloth, or if they are made of glass or plastic, you can wash them in a sink. Before reassembling the lamps, be sure to dry them carefully. After cleaning the lights inside and out, you can follow the instructions for solar garden lights to reinstall the lights, just as before cleaning.

